
Prerequisites

Audience
Project Administrators who are responsible for customizing their project for reviewers. This includes setting up codes, editing the layout in the results table/the review window, and creating assignments.

Knowledge Level
Beginner
Lessons in this Workflow
- Create your codes
- Customize the results table view
- Create an assignment group
Create your codes
- Set up your coding sheet so that reviewers can apply codes to documents.
- Watch this video on setting your codes:
Customize the results table view
- You can customize what information reviewers can see when they are looking at a set of documents.
- Create a unique view of the results table by configuring the displayed information, reordering the columns, and selecting how the table will be sorted.
- Watch this video on customizing the results table:
Share the results table view with reviewers
-
Once you have customized your view, click “View” and then “Save View.”
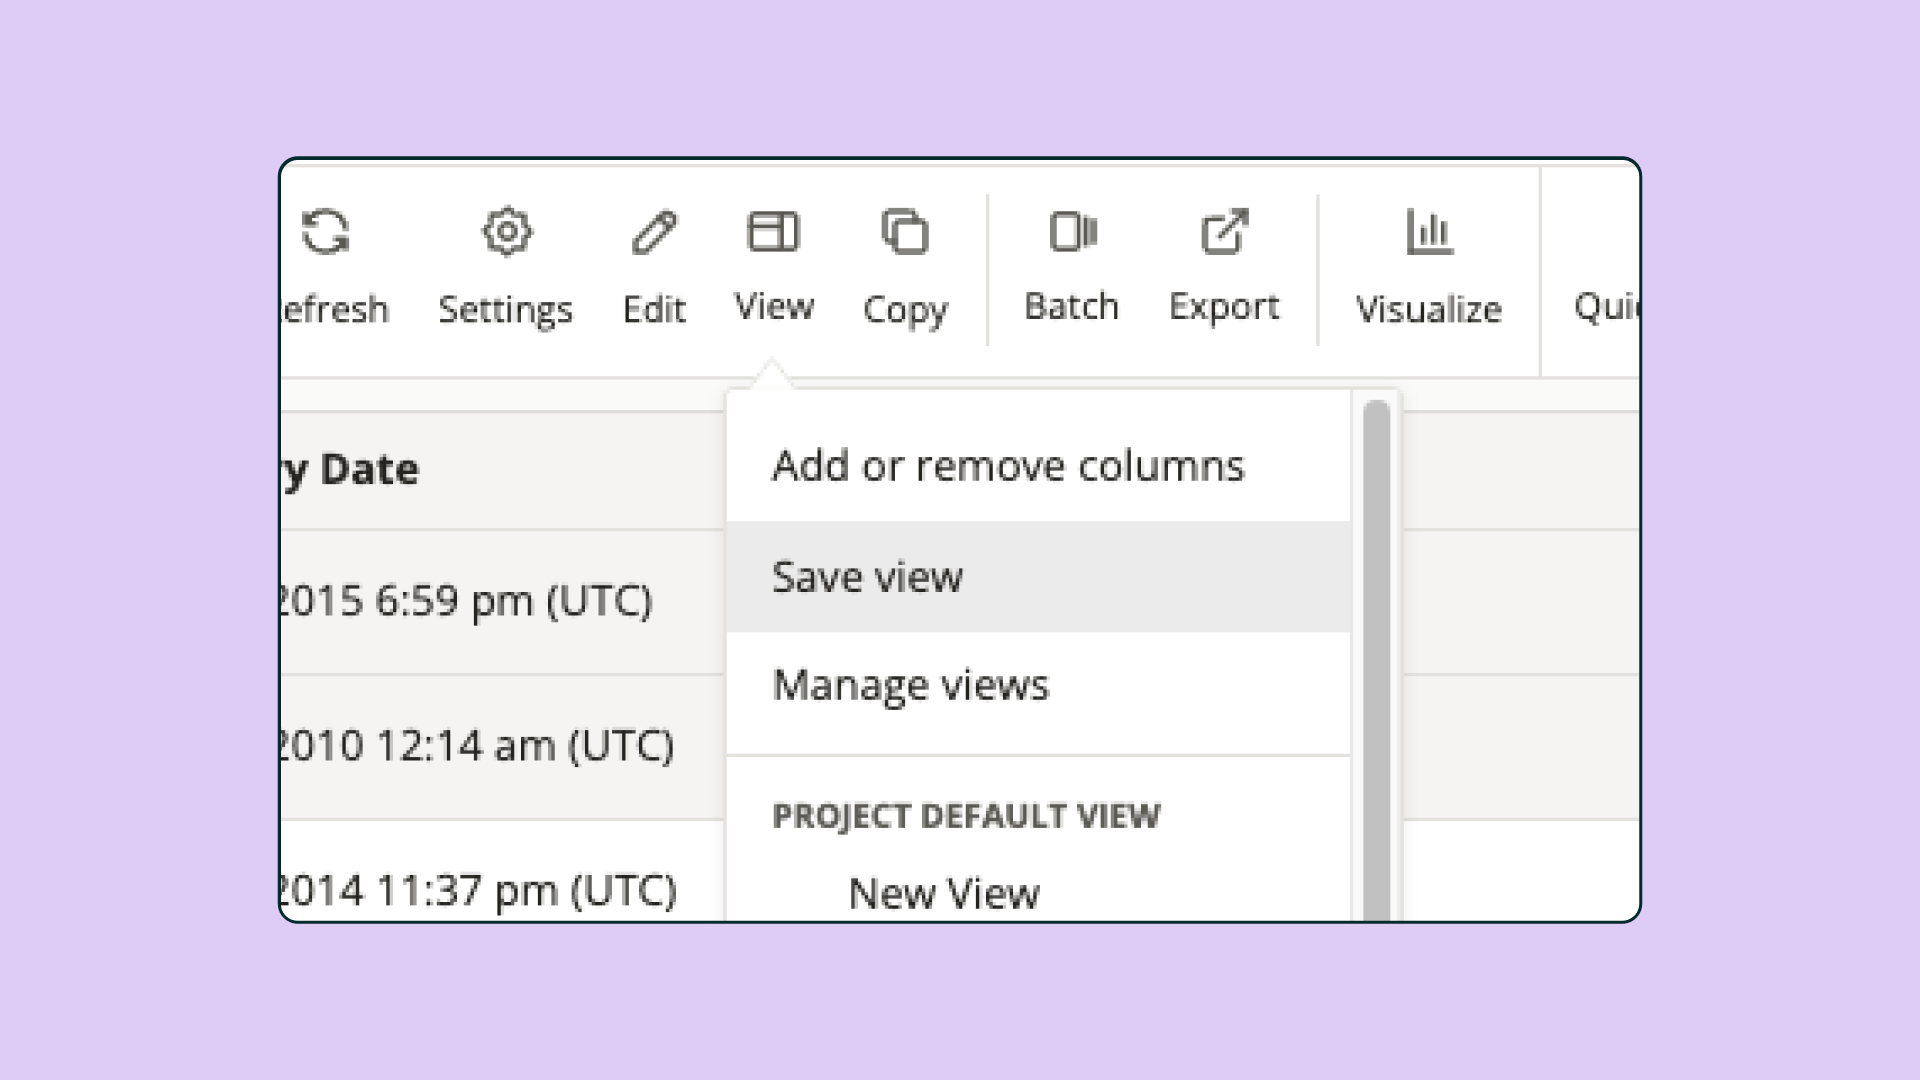
-
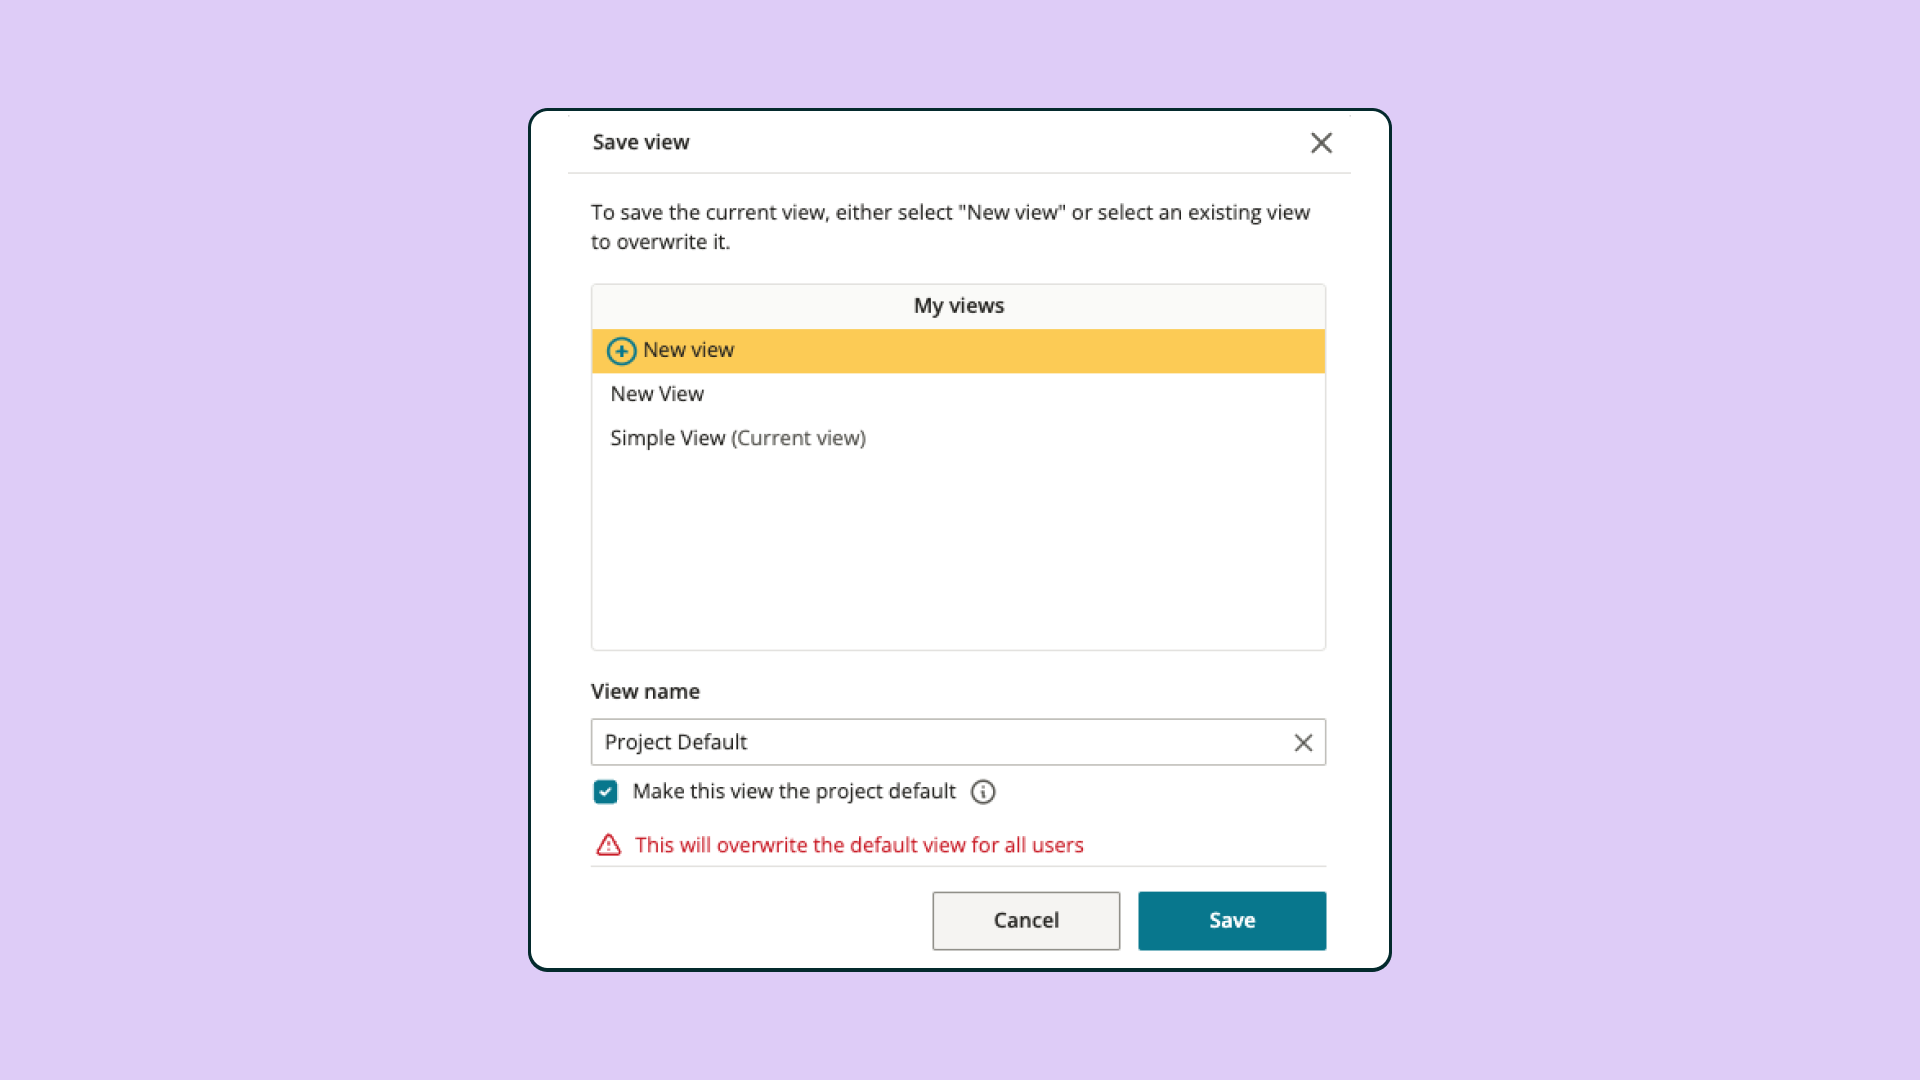
A dialogue will appear where you can make this view the project default. This view will be the first view any user sees in the project when they open the results table and all users will have access to the default view.


Create and share a review window layout
- When reviewers are looking at a single document, there are a variety of tools they can use to apply review work.
- Simplifying the review window layout by removing unneeded tools and information will help reviewers to be efficient in the review process.
- Watch this video on review window customization:

Create an assignment group
- Use the assignments tool to divide documents amongst reviewers, clearly communicate their review expectations, and track their progress over time.
- Read this resource outlining the steps for creating an assignment:
