Prerequisites
Audience
Users responsible for identifying and promoting documents of interest from Early Case Assessment (ECA) to active Review
Knowledge Level
Intermediate
Lessons in this Workflow
- Discover key terms and themes
- Search for important terms, people and dates
- Filter your results
- Remove the duplicates
- Promote your Documents
Discover key terms and themes
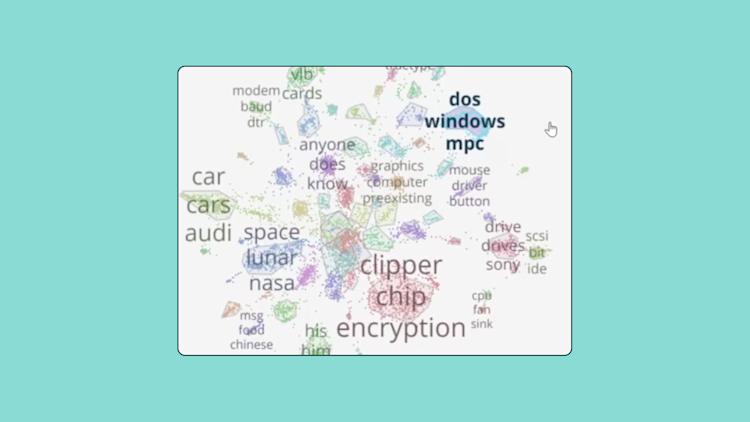
In cases with large numbers of documents coming from multiple sources it can be hard to know which searches will be most effective at identifying key documents. Clustering is a tool that analyzes all of the documents in your case to identify common words and conceptual similarities between documents.
From the navigation bar, select the Document Analytics icon and then “Document Clustering”
To enable clustering “Select documents to cluster”
Watch this video on the Clustering Tool:
Search for important terms, people and dates
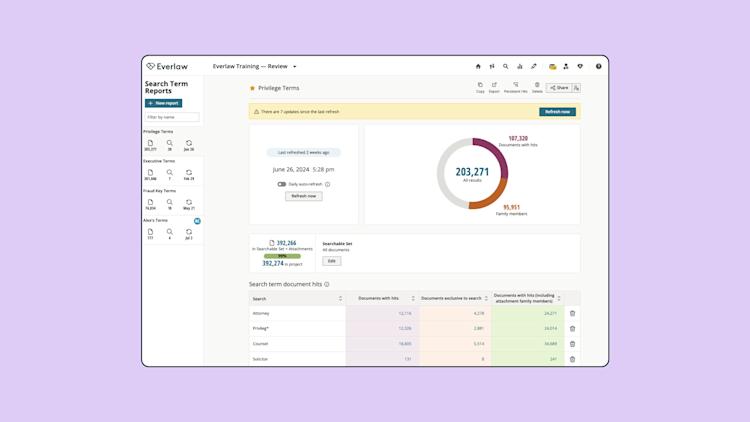
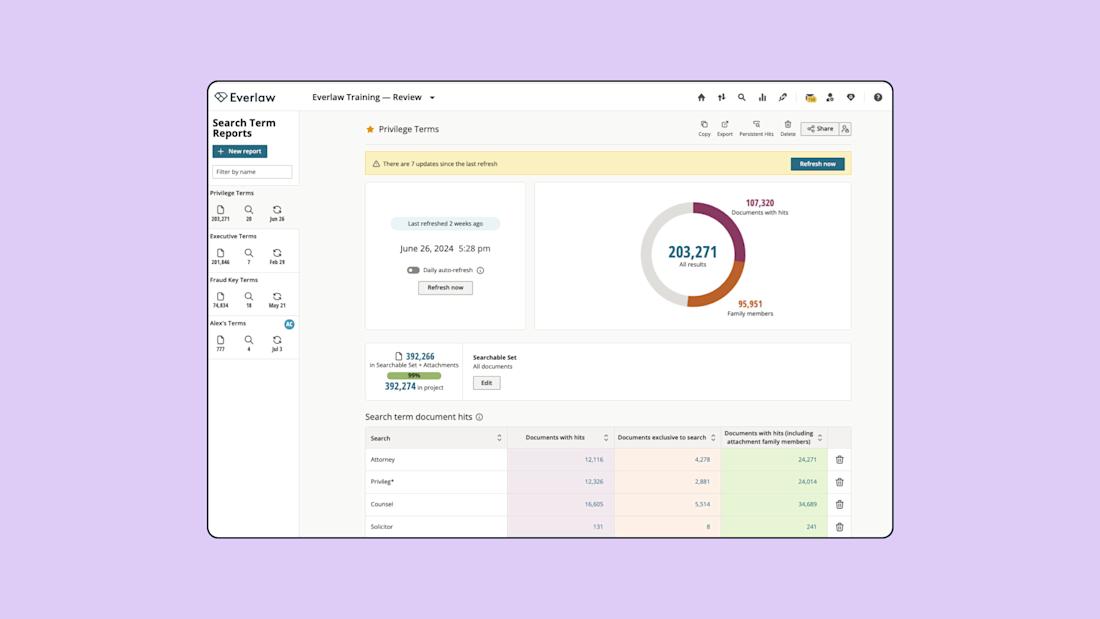
If you have a list of terms, people and/or dates that are relevant to your matter, you can search for them all at once using Search Term Reports.
From the navigation bar, select the Document Analytics icon
Then select “Search Term Reports”
Watch this video to learn how to setup a Search Term Report
Filter your results
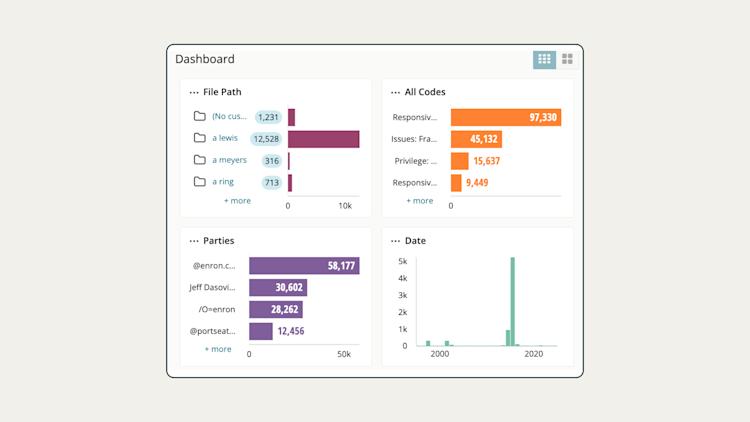
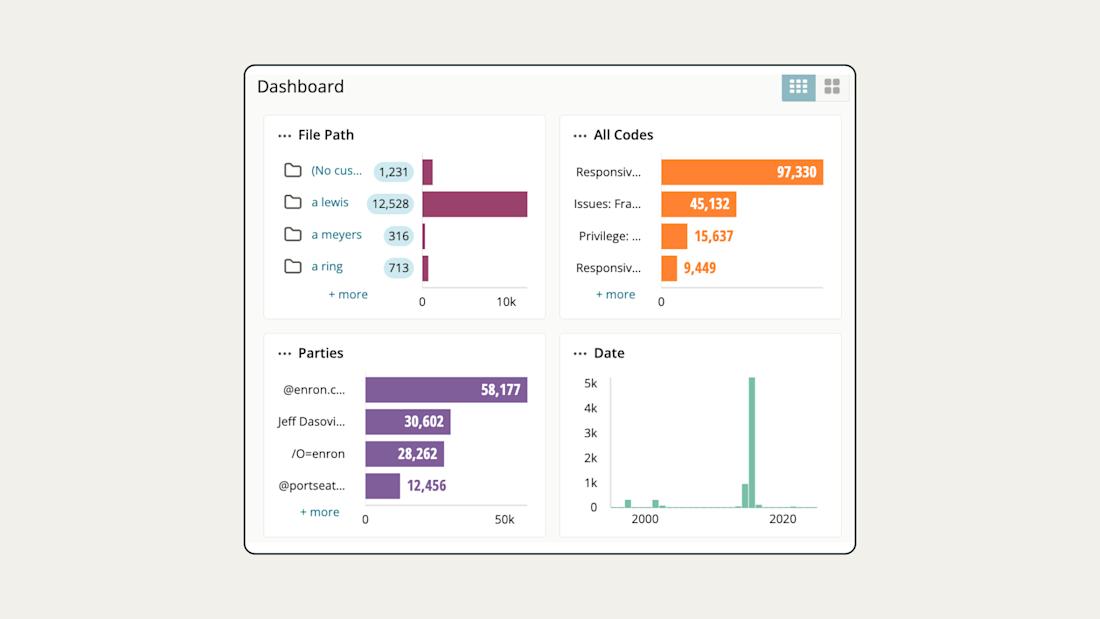
Refine the results of a search by filtering terms in the Data Visualizer tool.
From the results table, select the “Visualize” icon
Use the left side panel to navigate and choose between different visualizations
Select bars to highlight specific results and choose “Add filter” to refine your results table
Watch this video to learn more about visualizing your results:
Remove the duplicates
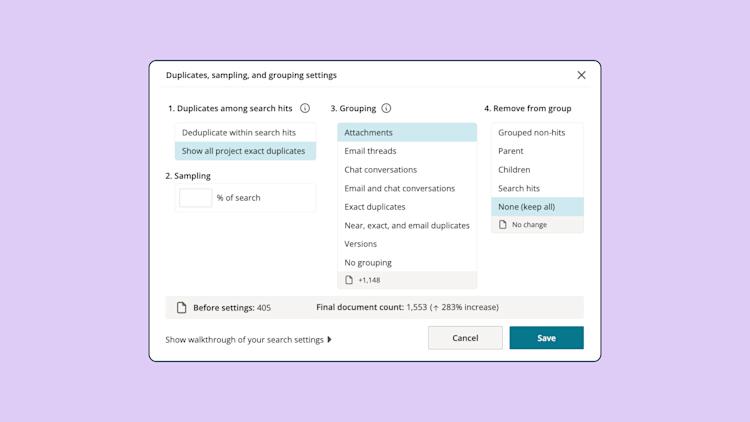
After identifying the documents of interest, we recommend removing any duplicates in your results before you promote the remaining documents to a review project.
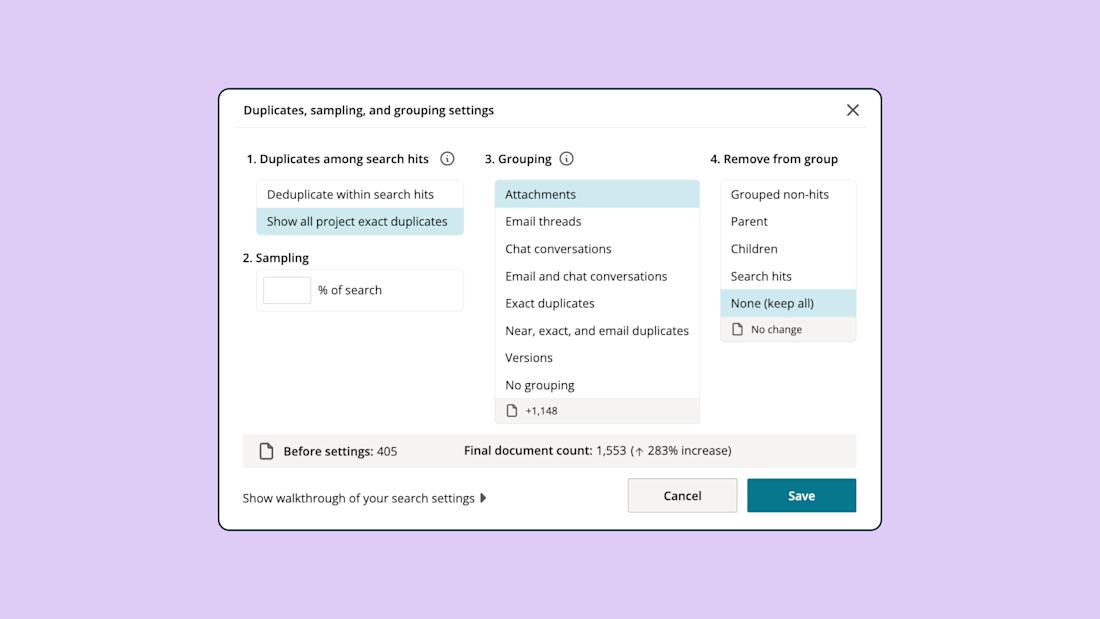
From the results table, select the “Settings” icon
In the pop out window select “Deduplicate within search hits”
Select “save”
To learn more about search settings and grouping your results:
Promote your Documents
Once you’ve identified documents for further review, promote them to the Review project for full review
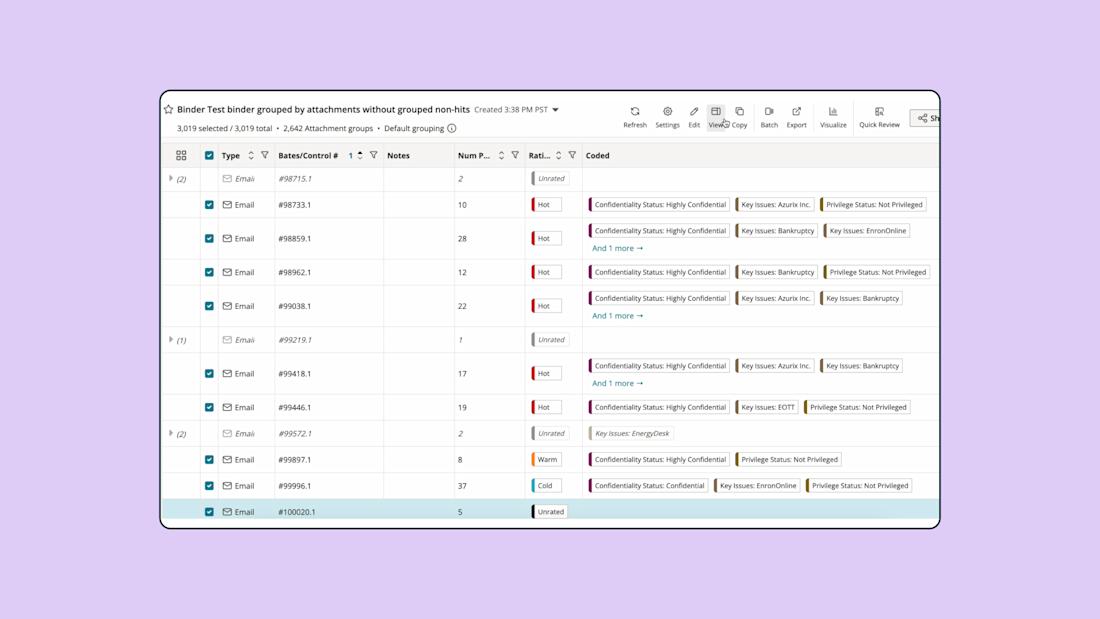
From a results table of documents you want to promote, select “Batch” and then “Promote.” Promotion will affect all selected documents in the results table (by default, all documents are selected). You can click into the blue checkmarks to select or unselect additional documents.
Select the Review project, then select the promotion code, or reason for promoting. You can promote the results of a keyword search under the code “Keyword.” Promotion codes are tracked in the ECA project under the results table column “Promotion Codes” and visible in the Review project under the Document History tab in the review window.


