
Prerequisites

Audience
Everlaw users who need to organize multiple objects such as binders, assignments, and searches into folders for better project management and collaboration.

Knowledge Level
Beginner
Lessons in this Workflow
- Create a binder
- Add documents to a binder
- Create a folder
- Add objects to a folder
Create a binder
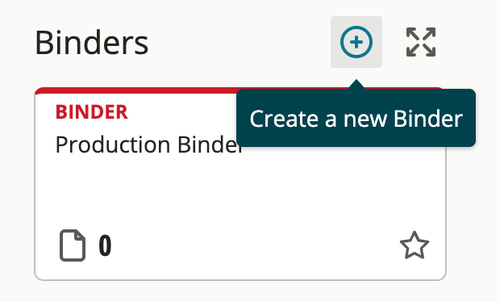
- Binders are a way to collect documents together as you see fit. To create a new binder, navigate to the Binders column and press the + icon.
- Decide who can access your binder using the “Share binder” option. Binders may be automatically shared based on project settings.
- Check out this resource to learn more about binders and different permission options:

Add documents to a binder
From the Review Window
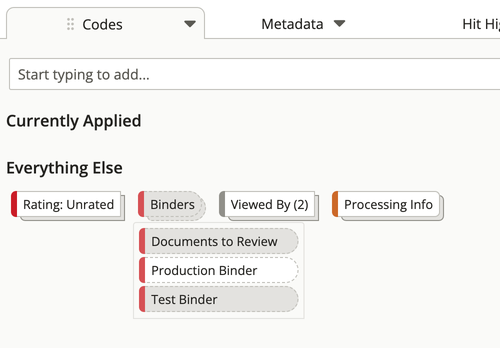
- While working with an individual document, navigate to the “Codes” tab, and under “Everything Else,” select “Binders.”
- Click on a binder you’d like to add your document to. You can add the document to as many binders as you’d like.

From the Results Table
- Select the documents you want to add to the binder. Select Batch > Modify.
- Scroll down to “Binders” and select the binder(s) to add the documents to it. To create a new binder select “Add a new binder” and Apply.
Create a folder
Folders help you organize your work by grouping related materials such as binders, searches, and assignments.
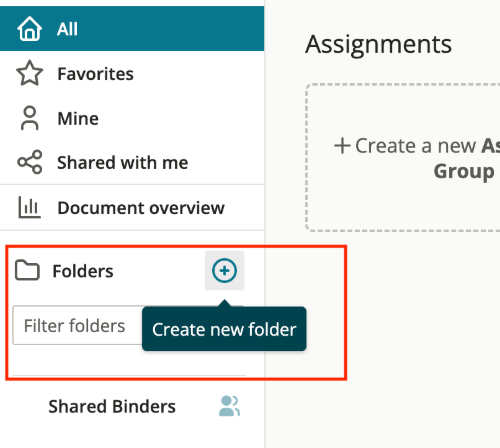
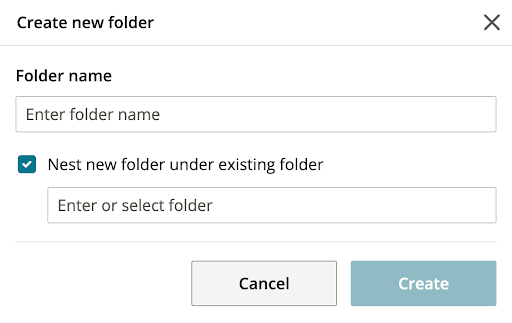
- From the homepage, click the blue + icon to create a new folder.
- You can nest a new folder under an existing one by selecting the checkbox and choosing the parent folder, supporting up to four folder layers.


Add objects to a folder
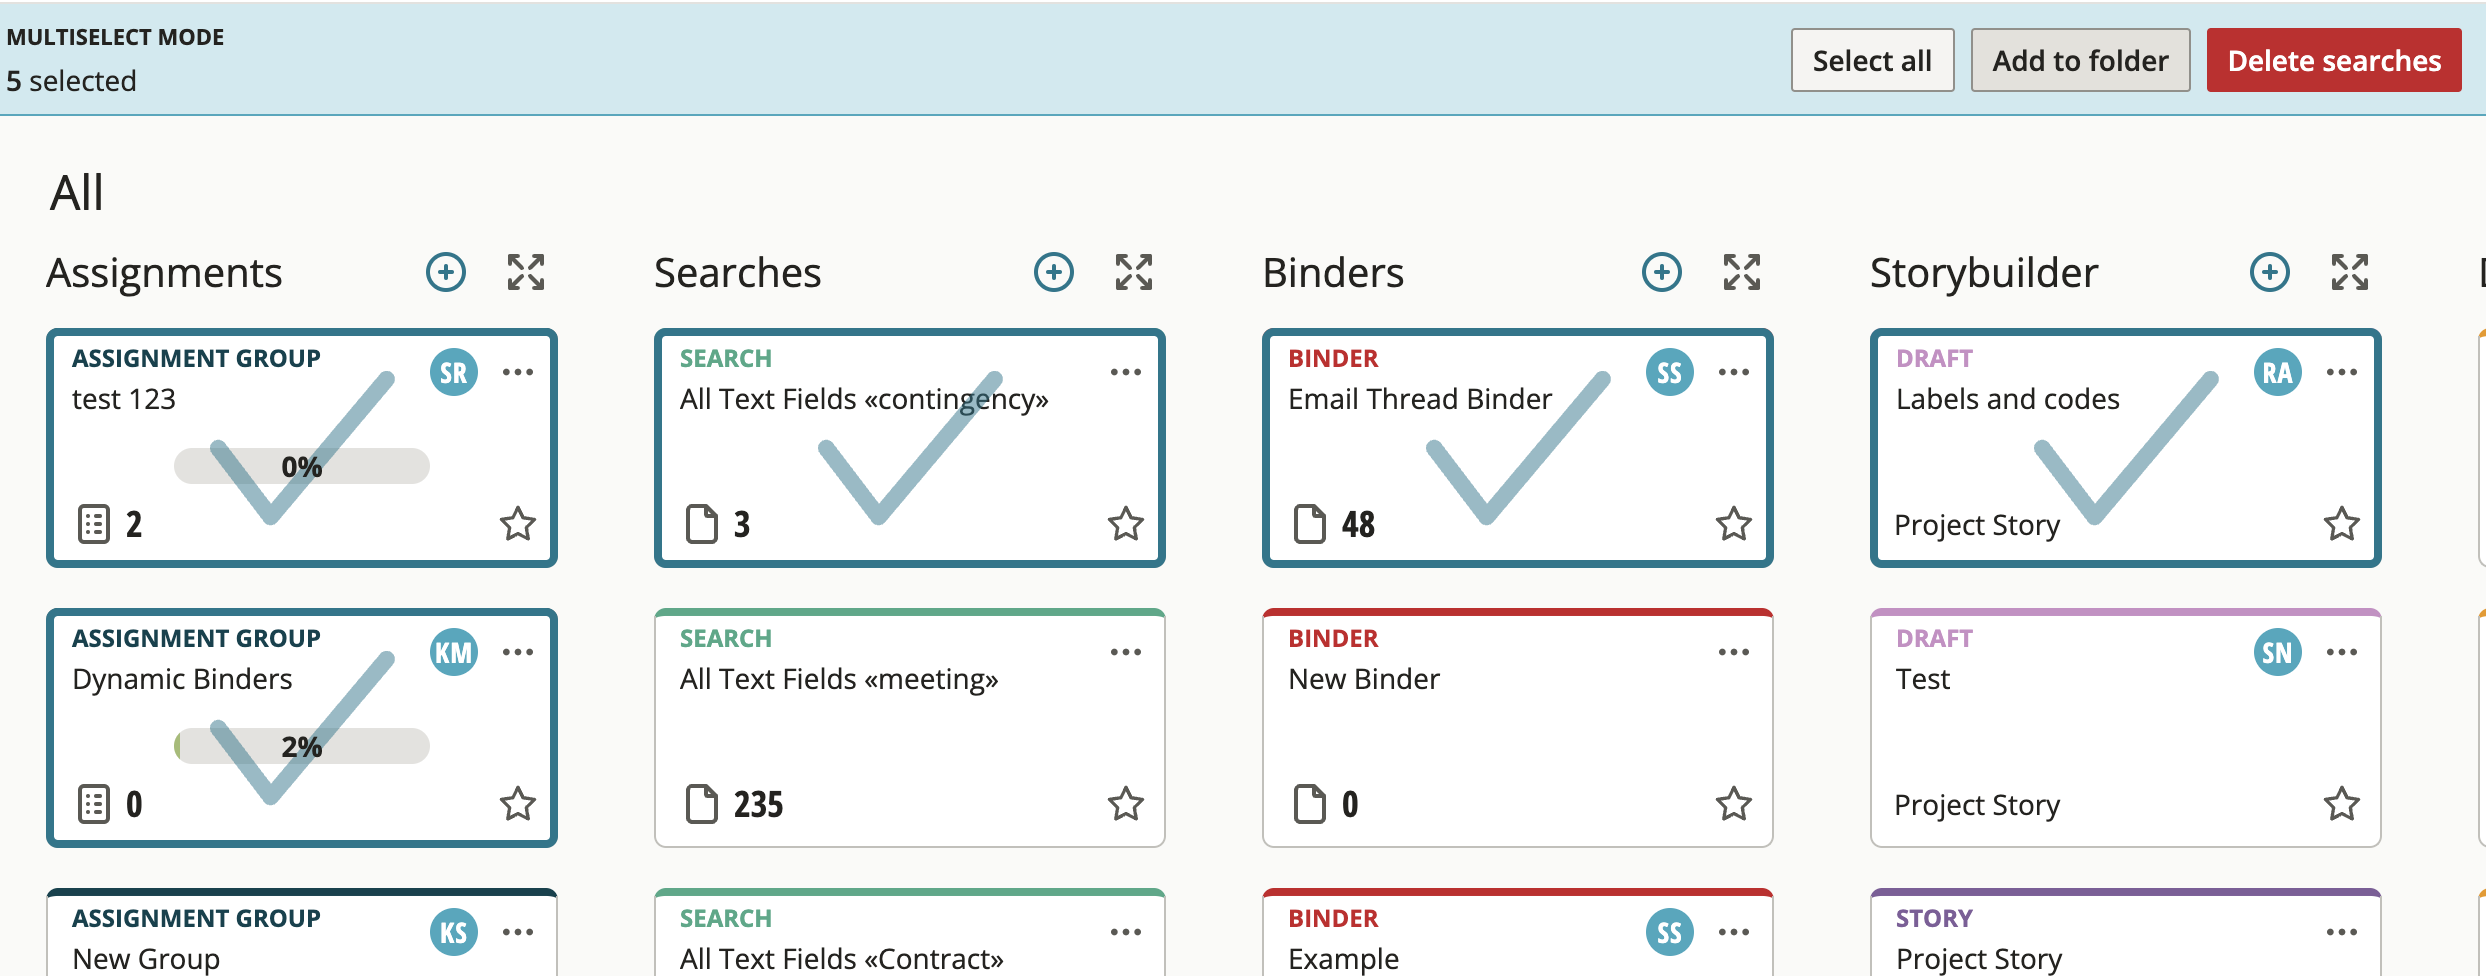
- Any binders, assignments, searches, or other objects can be added to a folder. To add an individual object such as a single binder, click the three-dot menu on the object card and select “Add to Folder”.
- Multiple cards can be added to a folder by pressing X on the keyboard or clicking the multi-select icon in the top right corner.

Manage and share folders
-
When you’re ready to start collaborating, share a folder and its contents by clicking the “Share” button. Set permissions to control who can access and modify the contents of folders.
-
You also have the option to message all folder users to further collaborate. Click the message icon in the toolbar, modify the recipient list and write your message in the pop-up.
-
Watch this video to learn more about permissions and collaboration:
